photoshop cs6分栏如何查看照片?对此分享吧小编特意为大家带来了photoshop cs6分栏查看照片方法介绍,不清楚的小伙伴们快来关注吧,希望能帮助到大家。
photoshop cs6操作流程:
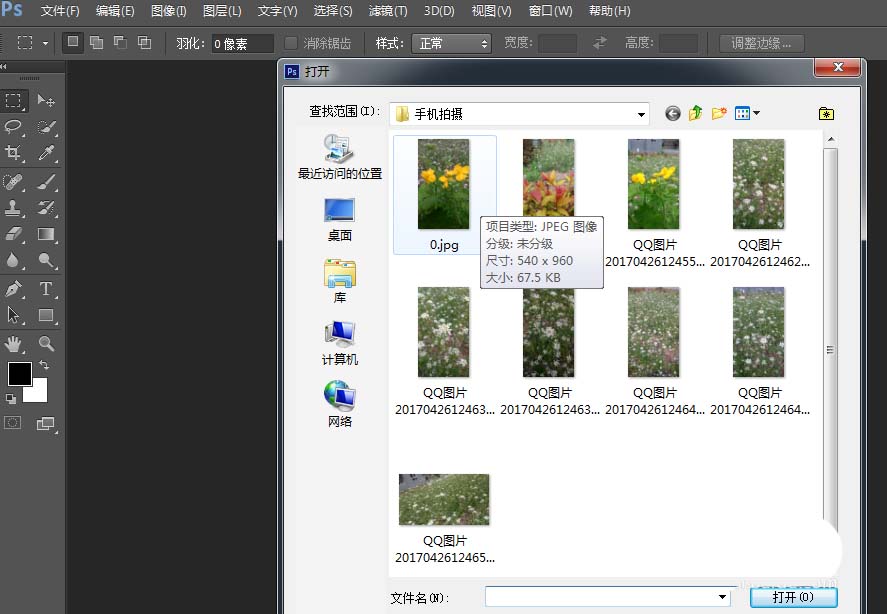
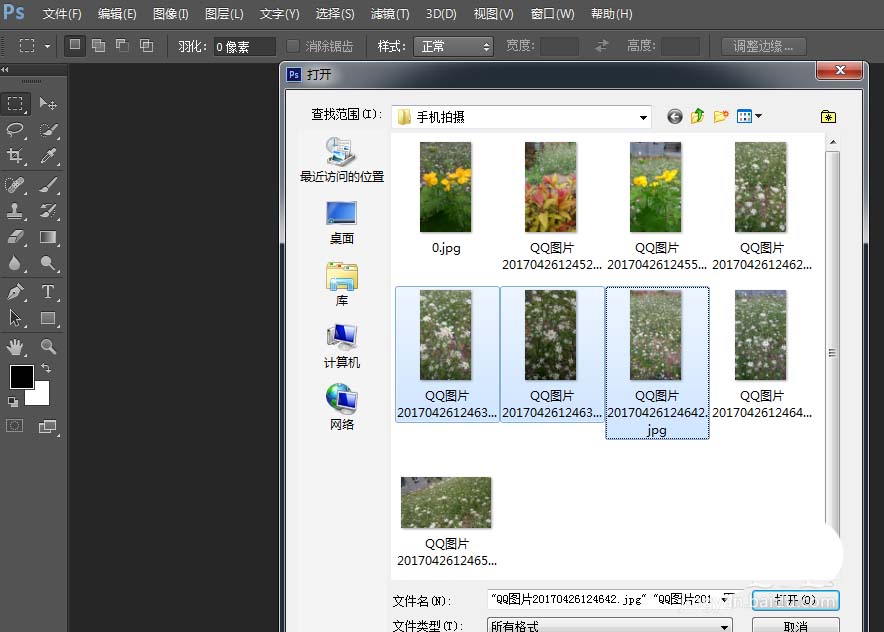
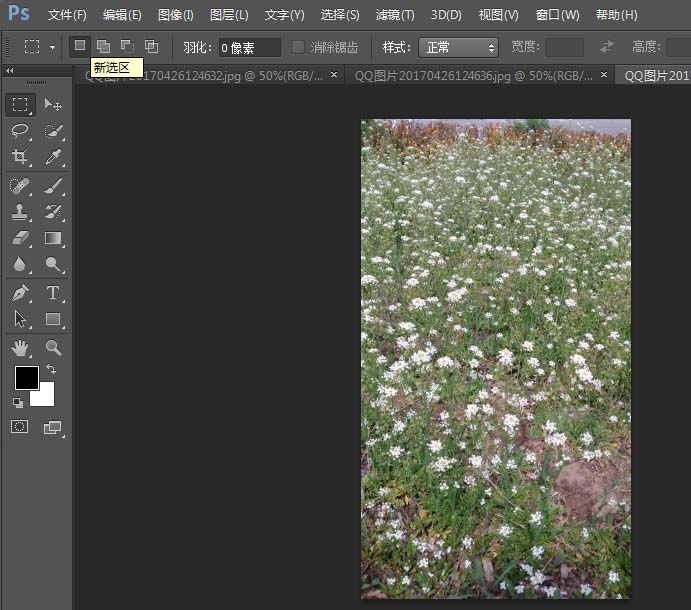
首先我们需要打开photoshop cs6软件,点选“文件”——点选“打开”,选择图片。(左手按住键盘ctrl键,右手点击多张图片,可以多选)
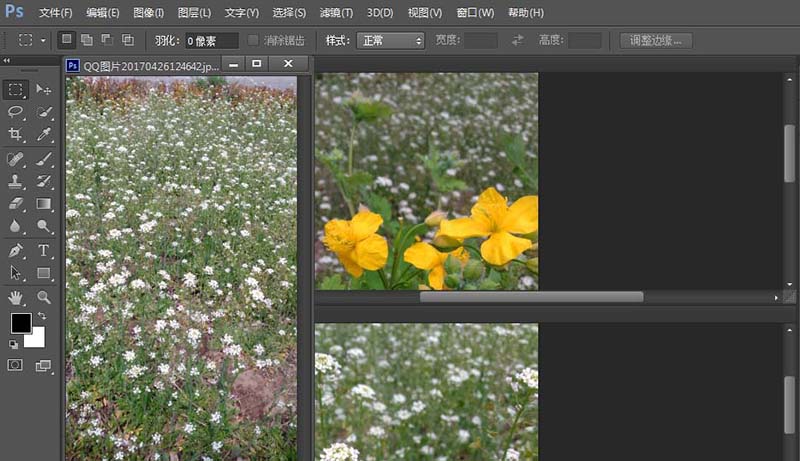
然后我们点选“窗口”,第一选项“排列”,点选“平铺”,效果如图。

接着我们在“排列”中点选“在窗口中浮动”,效果如图。
最后我们在“排列”中点选“将所有内容合并到选项卡中”,即可回到初始状态。(也可以鼠标左键按住图片上方图片名称拖动)

photoshop cs6相关攻略推荐:
以上就是photoshop cs6分栏查看照片方法介绍,想了解更多关于《photoshop cs6》的使用教程,欢迎关注分享吧下载站,这里有最新最全的软件教程使用大全!