photoshop cs6如何利用渐变蒙版合成图片?相信不少朋友都不是很清楚吧,那么就由分享吧小编为大家带来利用渐变蒙版合成图片方法介绍,希望能帮助到大家。
photoshop cs6操作流程:
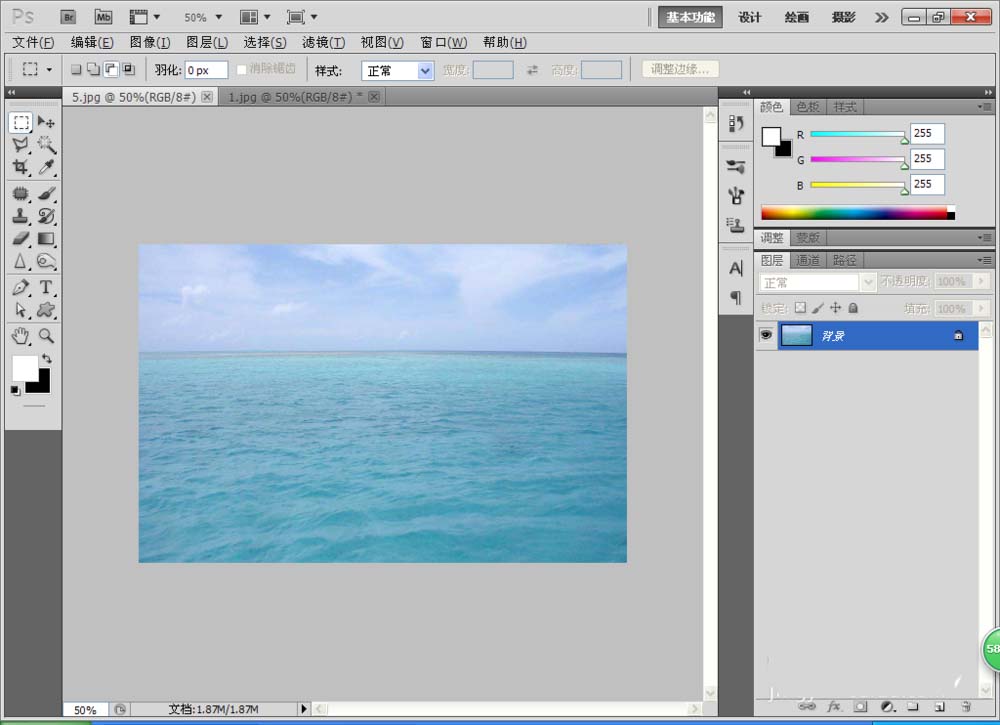
首先打开photoshop cs6软件,然后打开一张图片,如图
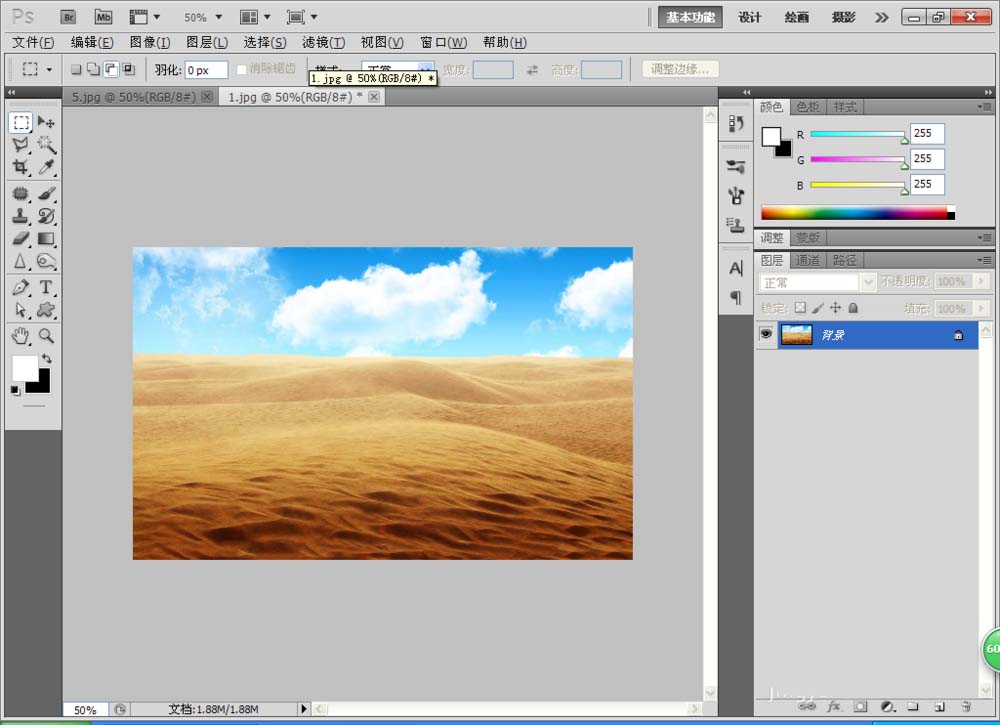
再次打开一张沙漠的图片,如图所示
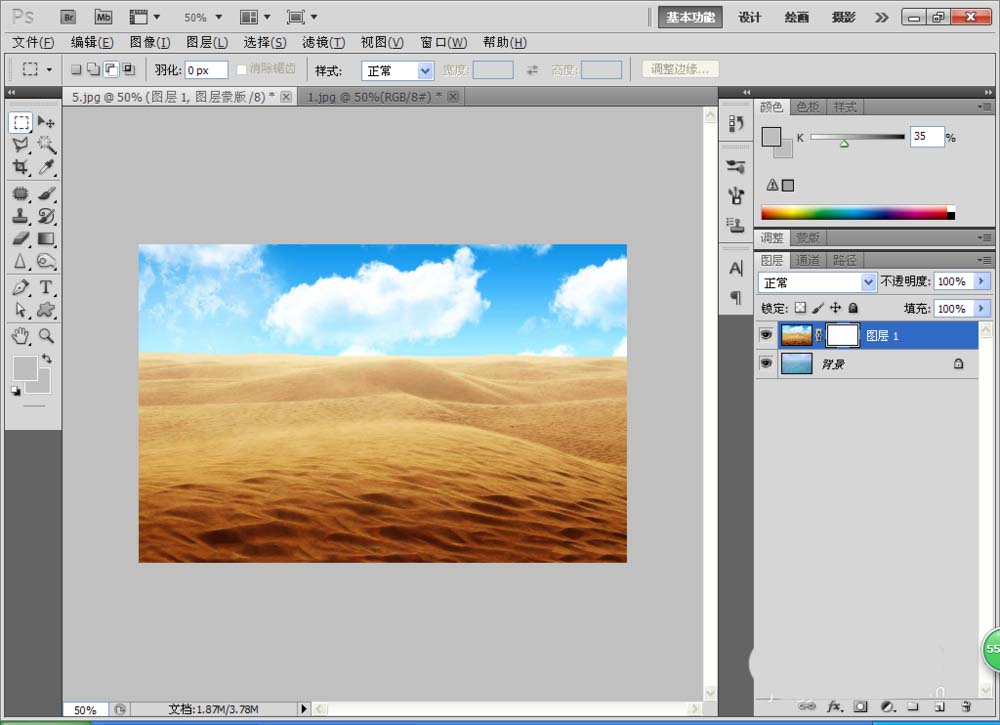
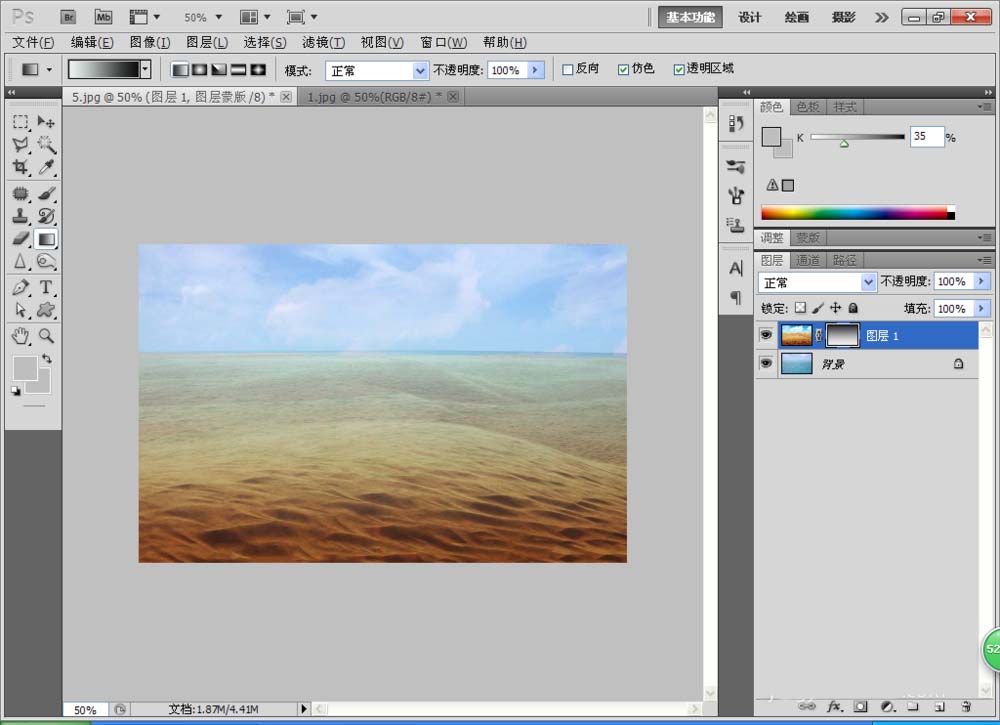
接着我们将沙漠图片移到到海水图片中,然后添加图层蒙版,如图
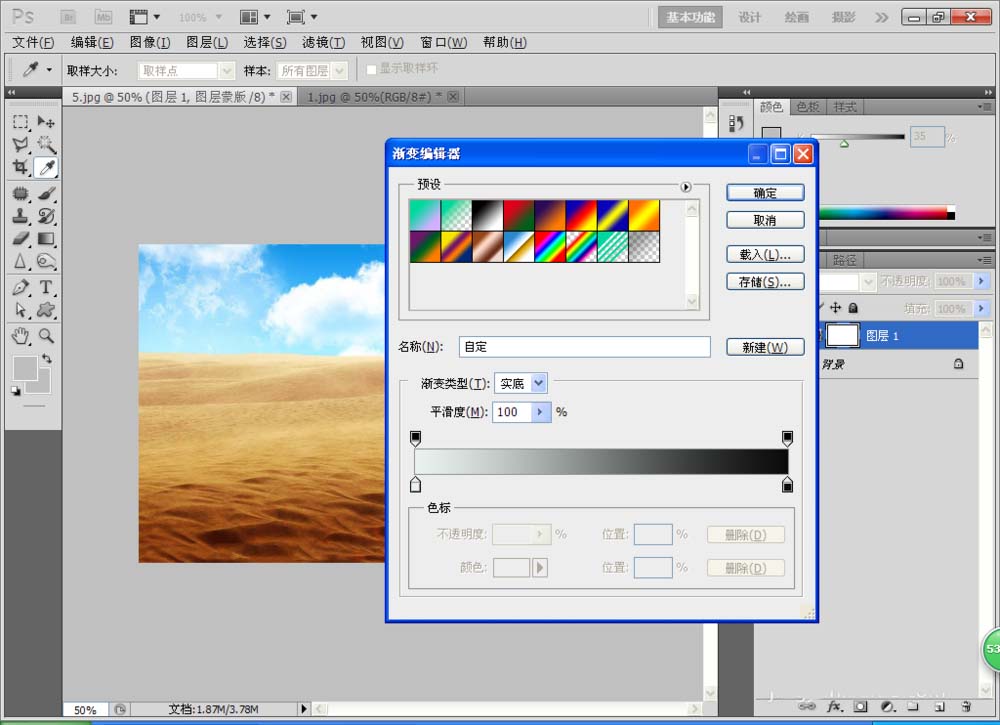
再选择渐变工具,设置前景色为黑色,背景色为白色,设置渐变样式为线性渐变,如图
最后我们在图层蒙版中按下鼠标左键,由下到上之间进行填充由黑色到白色的渐变,效果如图
photoshop cs6相关攻略推荐:
以上就是photoshop cs6利用渐变蒙版合成图片方法介绍,想了解更多关于《photoshop cs6》的使用教程,欢迎关注分享吧下载站,这里有最新最全的软件教程使用大全!