photoshop cs6怎么绘画圆角五角星形图形?很多玩家还不是很清楚,下面就是分享吧小编为大家带来的绘画圆角五角星形图形方法介绍,需要的朋友不妨进来看看。
photoshop cs6操作流程:
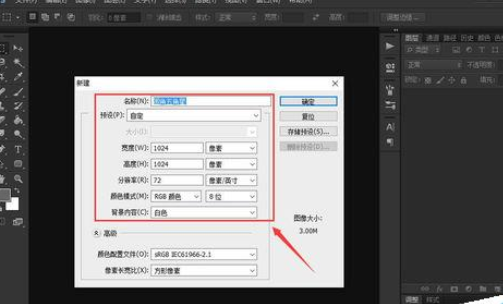
我们需要先打开photoshop cs6,按键盘上快捷键“ctrl+N”新建一个白色画布,大小为1024*1024像素即可,如图所示。
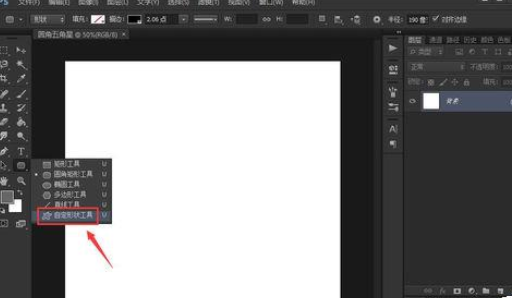
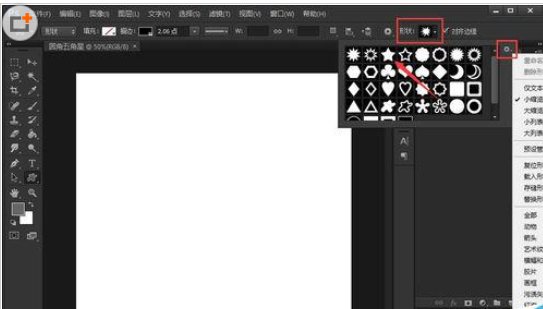
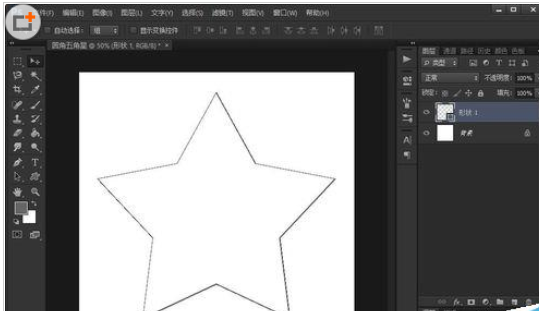
然后我们点击左侧工具栏中的“自定形状工具”,并在右上侧的“形状”下拉菜单中找到“正五角星”的原始形状,如图所示。
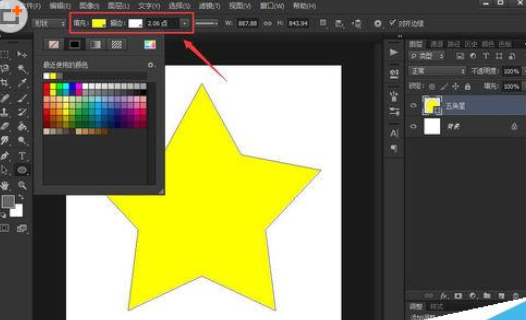
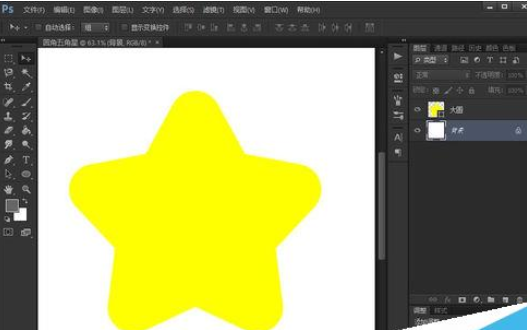
接着我们用上述选中的五角星工具在白色画布上绘制一个五角星,并通过上侧属性栏调整其颜色填充和边线,如图所示。
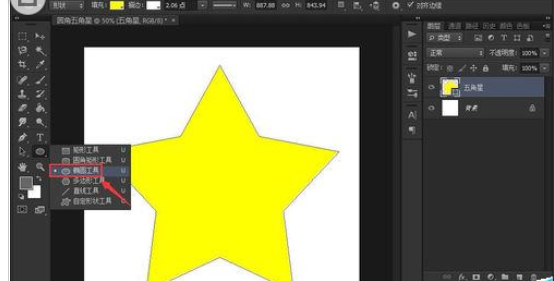
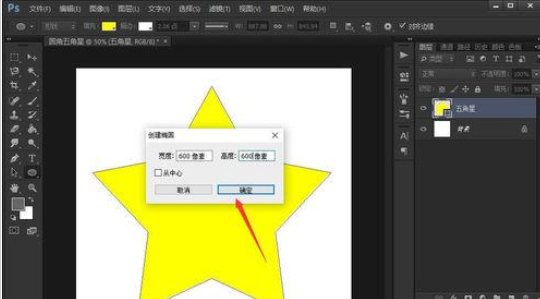
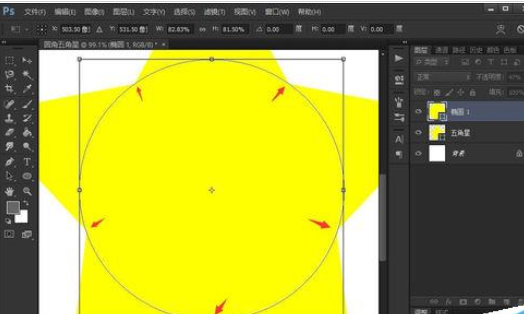
这时候,选中左侧工具栏中的“椭圆工具”,并在白色画布上点击鼠标左键,将弹出的对话框中数值设置为相同高度和宽度,如图所示。
绘制出圆形以后,按键盘上的“ctrl+T”自由变换,用鼠标左键拖动调整其大小和位置,使其与五角星的内角相切;调整完成后,按住“shift+Alt”键,拖动鼠标,使圆形与五角星的五个角相交,如图所示。
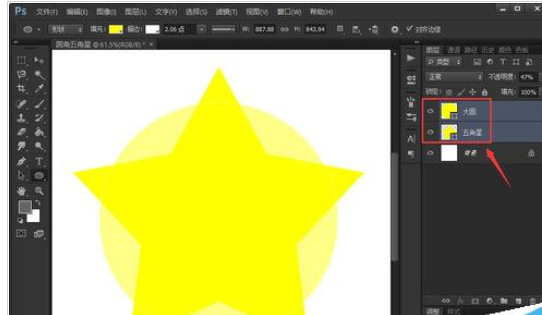
绘制好以后,选中图层栏中的两个图层,按“ctrl+E”合并图层,如图所示。

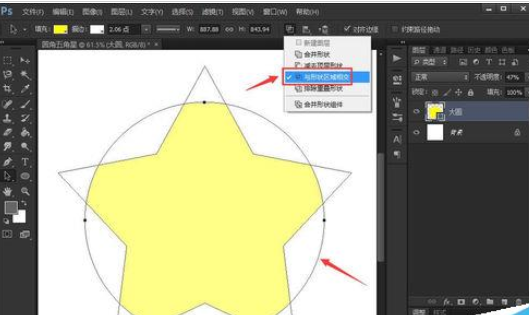
我们接着选中左侧工具栏中“路径选择工具”,点击圆形路径,并点选上方“与形状区域相交”选项,如图所示。
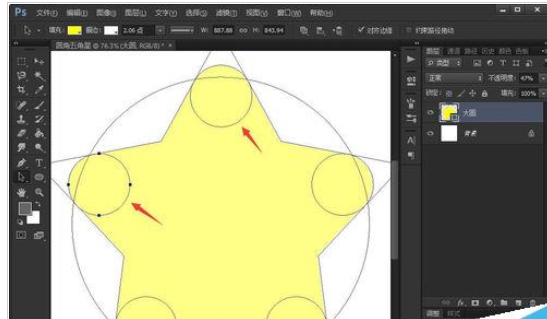
这时再用“椭圆工具”,按住“shift”键,拖动出一个圆形,可以调整圆形大小;不松开鼠标的情况下再按住“space”键,可以同时拖动绘出的圆形,我们将圆形与五角星的角上的两个点相切,如图所示。
绘制好以后,按住“Alt”键,用“路径选择工具”拖动小圆形,把另外四个角都绘制成同样的模样,如图所示。
最后我们点击背景层,即可看到绘制完成的圆角五角星了。如果你想让颜色更好看一些,还可以调整渐变!
photoshop cs6相关攻略推荐:
以上就是photoshop cs6绘画圆角五角星形图形方法介绍,想了解更多关于《photoshop cs6》的使用教程,欢迎关注分享吧下载站,这里有最新最全的软件教程使用大全!