《Word》怎么设置脚注每页重新编号?相信不少用户对此不是特别了解,分享吧小编就为大家带来word2013设置脚注每页重新编号方法介绍,一起来看看吧!
方法步骤
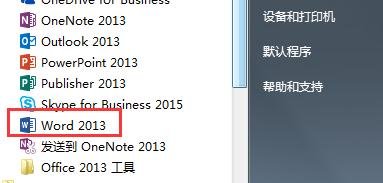
首先点击打开word2013
然后打开自己要进行每页重新编号的文档。

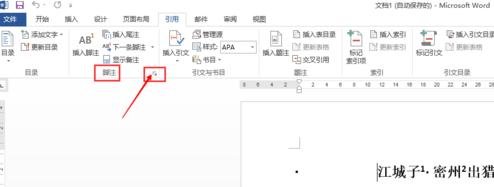
点击页面上方工具栏中的【引用】选项卡

点击【引用】选项卡下方【脚注】族区域右下方的折叠框箭头符号
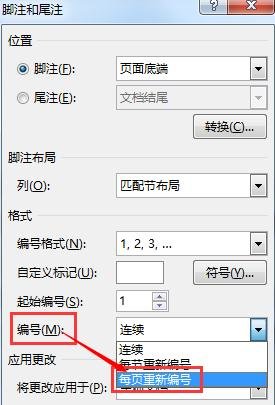
接着会弹出【脚注和尾注】对话框,在对话框的【位置】选项下方选择【脚注】
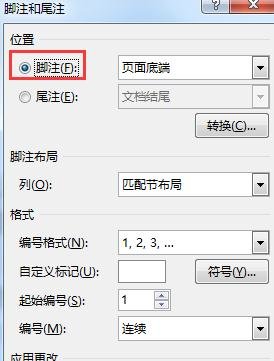
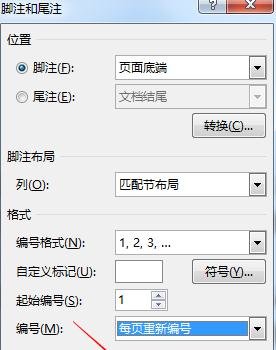
在【编号】右边点击三角下拉按钮,然后选择【每页重新编号】
最后点击【应用】保存设置后退出。
以上就是word2013设置脚注每页重新编号方法介绍,想了解更多《word》教程,请关注分享吧下载站,每天为你带来最新消息!
| Word相关攻略合集 | ||||
| 自动编号公式 | 怎么设置双页视图 | 怎么设置文字分栏 | 如何创建样式 | 如何设置保护色 |
| 去除页面上部横线 | 文档怎么进行锁定 | smartart从竖排变横排 | 删除MathTye加载项 | 如何更改汉字拼音 |